How To Use Icalendar On PC(Windows / Mac) Iphone & Android?
Last updated on May 5th, 2023 at 11:13 pm
iCalendar enlightens the ecosystem of the calendar that assists to maintain these tasks like date and time, scheduling meetings, or any events. Using an iCalendar is a remarkable task that supports users to maintain the advanced system. And it doesn’t build any restriction bound in the single device for the users, rather than everyone can use the iCalendar on iPhone, Android, and also Windows or Mac supported gadgets.
iCalendar users get beneficial performance and easily can access the features through utilizing the app. After syncing the account, anyone can acquire the experience and manage life through a developed systematic way.
How To Use iCalendar On an iPhone?
After downloading the iCalendar from the App store, you begin the trip to operate the iCalendar. These steps are described in short:
Checking the Plan list:
- Open the iCalendar app on the iPhone.
- Scroll to view the past or future yearly plan.
- Now, press on the selected Month to observe the detailed info.
- Then, click the selected Day and choose the three dots and lines icon.
- View the Plan list of that preferred day.
Creating the Event:
- Expand the iCalendar app and select the + icon.
- Write the Title of the created event and set the Location, Start, and End moment.
- Now press the Alert option and set the alert time.
- Finally, choose the Add button and you can observe the created event.
Also Link :
Editing the Event:
- Expand the iCalendar app and select the event that you want to edit.
- Now press the Edit option.
- Then edit the desired section like title, time, location, alerts, etc.
- Finally, select the Done button and you save the edited event.
Searching the Event:
- Extend the iCalendar app and press the Search icon.
- Now write the title in the search box.
- Then previously created and search-related results come.
- Finally, you choose the desired event.
Delete the Event:
- Expand the iCalendar app and select the event that you want to delete.
- Open the event and now press the Delete Event option.
How To Use iCalendar On Android?
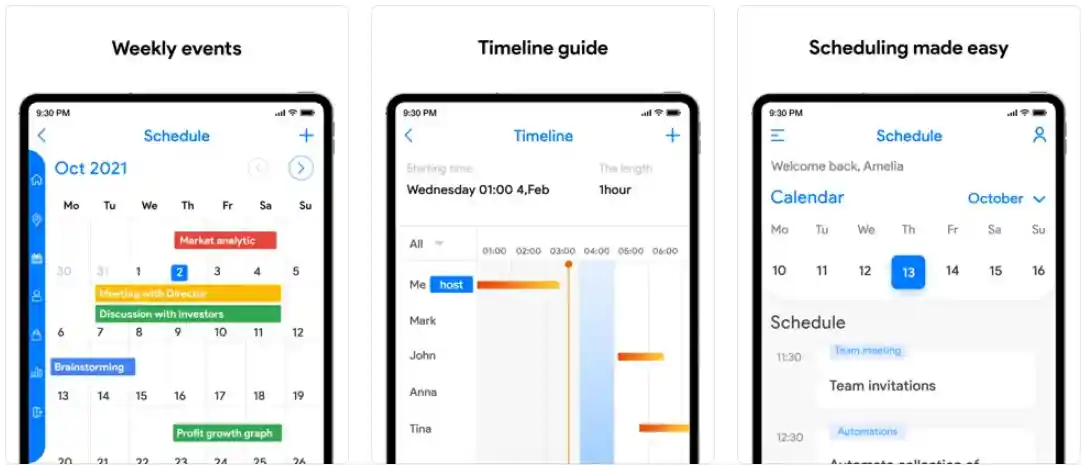
After syncing the iCloud account and storing the public sharing link, you can get the same features of the iCalendar by utilizing the URL link. The using criteria are so straightforward that is summarized below:
Creating the Event:
Open the Calendar app> choose + icon > Event > Setup Title, Location, Date and Time > Save.
Setting the Reminder:
Expand the Calendar app> choose + icon > Reminder > Setup Date and Time > Done.
Creating the Goals:
Open the Calendar app> choose + icon > Goals > Select Categories > Choose the How often, For how long and Best time > Turn on the Run button.
How To Use iCalendar On PC (Windows and Mac)?
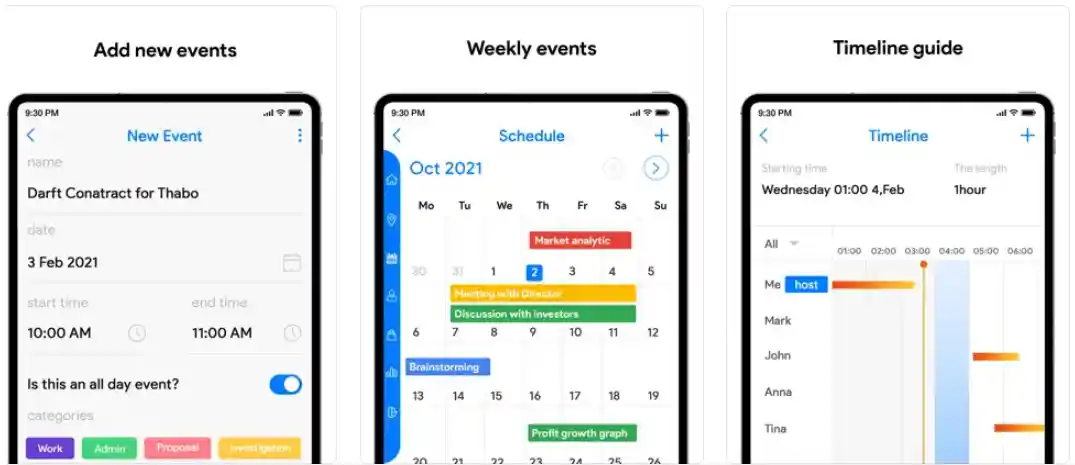
Generally, the iCalendar app represents the same features on both sectors of the Web on Mobile devices. Download iCloud for Mac and Windows and operate the iCalendar on the PC spontaneously. Some unique descriptions are summarized below that may assist the users.
Creating the Event:
- Expand the iCalendar app on iCloud.com and select the + icon.
- Write the Name of the event and set the Location, Date, and Time moment.
- You can attach any link, Note, share for the invitees, etc.
- Now press the Alert option and set the alert time.
- Finally, choose the Ok button and you can observe the created event.
Editing the Event:
- Expand the iCalendar app and select the event that you want to edit.
- Now edit the attachments, invitation, Alert setting, etc option.
- Then edit the desired section like name, time, location, etc.
- Finally, select the Ok button and you save the edited event.
Delete the Event:
- Expand the iCalendar app and select the event that you want to delete.
- Open the event and now press the Delete option.
Frequently Asked Questions
How To Share an iCalendar event?
1. Expand the Calendar App of the iPhone.
2. Click on the preferred Event that needs to be shared.
3. Press on the Edit option that locates on the Event Details page.
4. Then click the Invitees option and search the contact or write your Email address to find the right person.
5. Now press the Done button and return the Edit Event, then click on the Done option that helps to save and share the event.
How To Share an iCalendar With Someone?
>Extend the iCloud.com
> Press the right portion of the selected calendar
> Private Calendar
> Write Email Address in the Add Person space
> Return or Enter
> Choose the Invitees
> Allow the permission
> Ok.
How To Share an iCalendar With Android?
Acquiring Share Link of the iCalendar:
>Open iCloud.com
> Finish Sign In the process
> Calendar
> Share Calendar icon
> Turn on Public Calendar
> Copy Link.
Add the Sharing Link to Android Devices:
>Open Google Calendar
> Finish Log In
> Select three dots of the right part of the Add Calendar
> New Calendar
> URL of calendar
> Add Calendar.
Final Thoughts
After analyzing the above article, it can be said that Using an iCalendar is an easy approach because consumers can get the app without any payment. Also, it permits maintenance of the day-to-day demanded time and date-related tasks. Consumers can customize the app according to their needs. Also, it ensures security and can focus on the purpose and complete each list as the priority.
Finally, you can initiate the journey with iCalendar and enjoy higher performance. Then share the thoughts with another to connect with the modern tools.

![How Does Geozilla Work? Latest Update 2023 [3 Best Ways] How Does Geozilla Work? Latest Update 2023 [3 Best Ways] How Does Geozilla Work?](https://thepcsoft.net/wp-content/uploads/2022/04/How-Does-Geozilla-Work.png)
